 English
 中文简体
Industry News
HOME / BLOG / Industry News / The Condenser in a Refrigeration System: Heat Rejection Basics Explained




A display cooler in a busy bakery holds temperature comfortably from October to April, then starts icing its evaporator every July. The charge is correct, the door gaskets are tight, and the compressor draws normal current, yet head pressure climbs past its design point by mid-afternoon. The condenser, tucked into a warm alcove behind the cabinet and never cleaned, is the reason.
The condenser is the part of the refrigeration system that decides how much heat the whole circuit can shed. When it cannot reject heat as fast as the compressor delivers it, nothing downstream behaves normally: high-side pressure rises, discharge temperature climbs, liquid reaches the expansion device warmer and less completely condensed, and evaporator capacity falls even though the evaporator itself is healthy.
Content
Every circuit has four working parts. The compressor raises the pressure and temperature of vapour drawn from the evaporator; the condenser removes heat from that vapour until it becomes liquid; the expansion device drops the pressure; and the evaporator absorbs heat from the refrigerated space.
Inside the condenser, three things happen in sequence:
Because the condenser is the high-side heat exchanger, its ability to reject heat sets the condensing pressure. A coil in good condition holds condensing temperature a predictable margin above ambient. A coil that is dirty, undersized, starved of airflow or fed recirculated warm air cannot hold that margin, and the entire system slides to a worse operating point.
You do not need a laboratory to judge whether a condenser is doing its job. Four field readings, taken together, separate a condenser fault from a charge fault, and that saves a great deal of guesswork on site.
| Measurement | Typical reading | What it points to |
|---|---|---|
| Condensing temperature | 10-15 K above ambient air | A wider gap means heat is not leaving the coil |
| Condensing approach | 8-15 K at design load | Above 18 K at normal load, check airflow and fin condition |
| Subcooling at outlet | 3-8 K | Low suggests undercharge; high suggests restriction or overcharge |
| Discharge temperature | Below the compressor's stated limit | A rising trend at steady load signals poor heat rejection |
No single number is conclusive. A condensing temperature 20 K above ambient with normal subcooling usually means an airflow or fouling problem. The same high condensing temperature with low subcooling usually means the system is short of refrigerant. High subcooling with a normal approach points at a restriction or an overcharge.
The physical form of the condenser is chosen around the appliance, not the other way round. Wire tube condensers are the familiar serpentine on the back of refrigerators and chest freezers: a steel tube bent into a continuous path with parallel wires welded across it to carry heat into the surrounding air. A single-layer version keeps depth small, which matters when a cabinet must sit close to a wall.
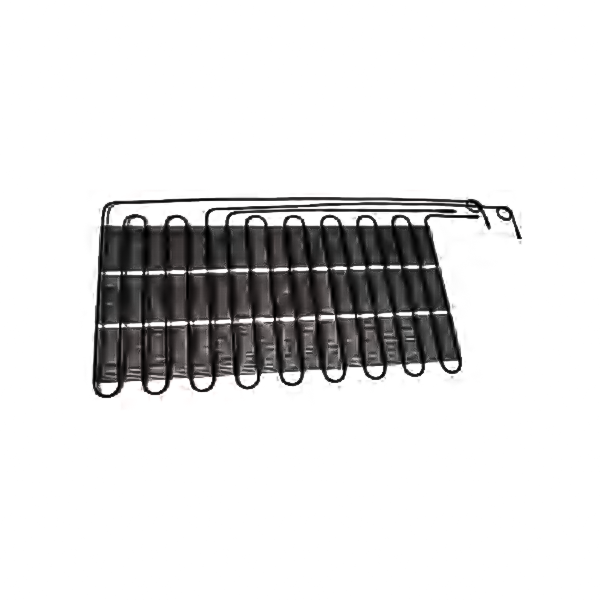 Single-Layer Wire Tube Condenser for Rear MountingA shallow serpentine condenser for refrigerator and freezer rear mounting, with coated steel tubing and design support for compact cabinet layouts.View Product →
Tube on plate condensers bond the tube to a steel plate, so the plate conducts heat sideways and the assembly can double as the cabinet back. Louvered versions punch the plate to improve air contact and stiffness, and the same family is often used where a flat, protected surface is preferred over exposed tubing.
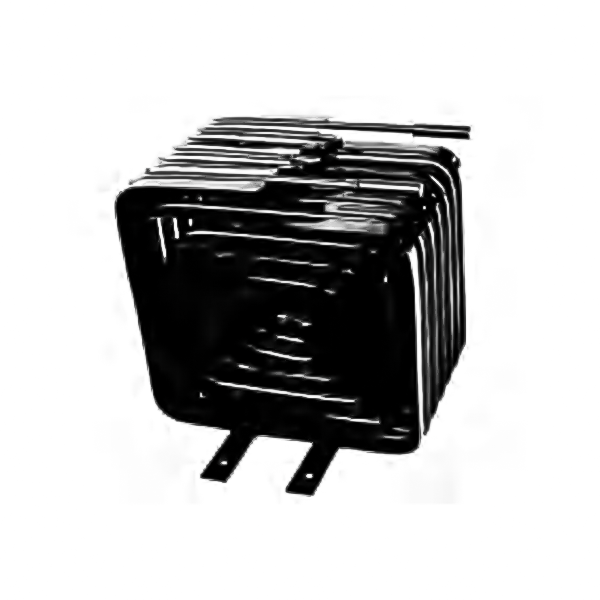 Tube-on-Plate Condenser for Refrigerator and Freezer CabinetsA flat tube-on-plate condenser that can serve as a protected cabinet back, with welded steel construction and corrosion-resistant coating.View Product →
Where the condenser has to disappear, tubing is bonded to the inner face of the outer skin. These built-in condensers free the back of the cabinet and protect the coil from knocks, but they are unforgiving: insulation must never bridge the coil, and because fouling cannot be seen, the design has to keep the surface protected or accessible.
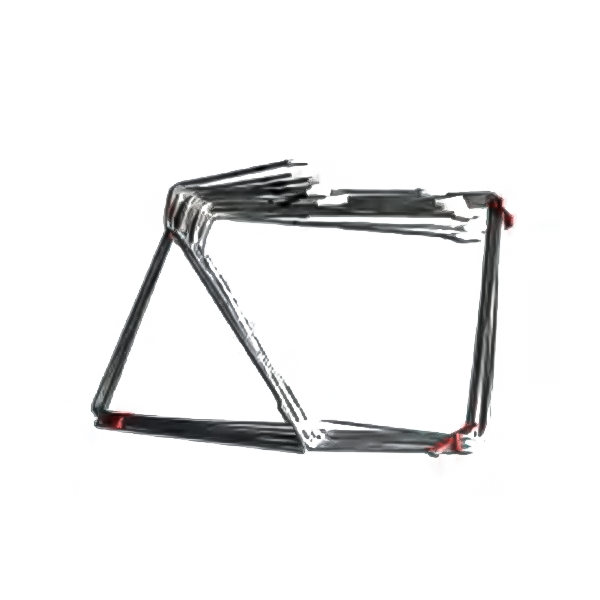 Flat Wire-on-Tube Condenser for Inside Refrigerator MountingA built-in flat condenser for refrigerators and freezers, with galvanized or PVC-painted surface and clean R134a-compatible tubing.View Product →
The full condenser range covers these variants along with multilayer wire tube, louvered plate and compact formed coils, so a cabinet design can match surface area to the space actually available.
Selection is a duty calculation, not a catalogue guess. Work through these points before fixing a model number:
Most condenser complaints are installation complaints. A coil pushed flush against a wall loses the convection that the design assumed. A cabinet installed beside an oven, a fryer or a hot-water cylinder runs at an ambient it was never rated for, and the condensing temperature rises with it. Recirculation is equally common: warm air leaving the coil finds its way back to the inlet, so the coil keeps re-cooling air that is already heated.
Pipework matters too. Long liquid lines need insulation, suction lines need oil return in mind, and every joint should be brazed under nitrogen so oxide scale does not travel into the coil or the capillary. After that, evacuation and charging by weight do more for condenser performance than any single component choice.
A dust or grease layer on the air side acts as insulation exactly where heat needs to escape. In practice, a visibly matted coil can push condensing temperature several kelvin higher, and every kelvin of extra condensing temperature typically adds a few percent to compressor power while shortening run tolerance in hot weather. In greasy kitchen environments, cleaning every three to six months is a realistic baseline; a fin comb plus a soft brush and a low-pressure rinse does more good than any additive.
Persistent high discharge temperature is the warning sign worth acting on early, because it degrades oil and shortens compressor life long before the cabinet stops holding temperature. Practical cleaning intervals and efficiency checks are covered in this guide to refrigerator condenser maintenance.
High head pressure is a symptom, not a diagnosis. Before condemning the coil, rule out these look-alikes:
Working through subcooling and approach together usually identifies the real fault within a single visit, which is far cheaper than replacing a coil that was never the problem.
The condenser is a passive part asked to do an active job, and it rewards being treated as a designed system element rather than an accessory. Size it against the real ambient and the real duty, install it with an air path it can use, and put it on a cleaning schedule someone will actually follow. Then measure approach and subcooling at every service call. Those two readings will tell you more about the health of the refrigeration system than any other pair of numbers on the gauge manifold.
Your email address will not be published. Required field are marked*

No.380 Kangyang Rd in the north,HuangdaiTown,Xiangcheng District,Suzhou City,215143

0512-65481378


